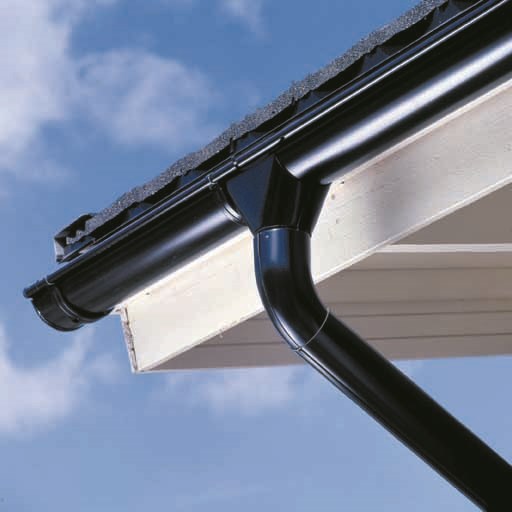
How to install your roof drainage system
But how do you set up your roof drainage? And what are important things to consider?
We will guide you through how to do it, because it is not that complicated!
Tools that might come in handy:
- Pen and paper
- Folding rule
- Hacksaw
- Pliers
- Screwdriver
- Sealant for sheet metal
- Possibly string and a bending lever
Preparation makes the job easier
Before you start assembling your roof drainage system, there are some things that can be good to have done before, to make your work easier and more straight forward. One thing that is good to start with is to carefully read through your manual and lay out all the parts of the roof drainage system so that you can see how they should fasten together and work.

Dimensioning
Our roof drainage is designed to handle water from a roof area of up to 125 m² per downpipe, when the roof slope is a maximum of 45°. It can handle most residential buildings and other smaller properties, but to be on the safe side, it is always good to check beforehand.
You need a downpipe every ten metres. If the roof is longer than 10 metres, you therefore need to have more than one downpipe.
Gutter slope
In order for the water to flow where you want it, it is important that your gutter slopes slightly. A drop of between 3 – 5 millimetres per metre is a good starting measure to get a sufficient slope.
Mounting
- Gutter fascia brackets
The gutter fascia brackets that hold up the gutter should be mounted on the eaves every 60 cm. Attach the first and last hook 10 cm from the ends of the gutter. You need to bend the gutter fascia brackets based on the slope of the roof. You can read how much you should bend them in our manual. - Downspout
Before you start installing the gutter in the gutter hooks, prepare and assemble the downspout This is done most easily on the ground. You can also read how to do this in our manual. - Gutter end cap
Now you need to fit the end caps and that is also easier to do on the ground. Put a line of sealant on the edge of the gutter, then slide the end cap on about 15 mm from the end of the gutter. - Guttering
Now you can mount the guttering in the gutter fascia brackets, so that the rear edge is under the small stud at the back edge of the bracket. - Gutter joint
Now it its time to lengthen the gutters. You do this by hooking the rear edge of the gutter joint around the gutters. Make sure that the rear edge of the gutter joint is facing the gutter while you place the front of the joint over the gutter and press it down. - Pipe elbows and middle section
You now need to fit two pipe elbows and a middle section. Start by measuring the distance between the ends of the pipe elbows and cut the middle section approx. 12 cm longer than the distance. The middle section inserts into the lower pipe elbow and slides over the upper pipe elbow Then fit the downpipe. - Downpipe brackets
Just below the bend in the downpipe, mount the pipe bracket on the wall. The brackets must be mounted at intervals not exceeding 2 metres, vertically below each other. If the brackets are being mounted on wood, use screws, and if they are being mounted on concrete or brick, use screws and plugs. Once the brackets are mounted on the wall, you can attach the downpipe. - Water drainage
If your downpipe is going to lead the water to a ground drain, you should use a sleeve and downpipe catch. Fit the downpipe with a push-on pipe that leads the water from the downpipe to the drain. If instead you are going to lead the water out onto the ground, you can fit a shoe directly to the downpipe - Adjustable gutter fascia brackets
If you using adjustable gutter fascia brackets, the last step is to check the slope of the brackets and adjust them so that the slope is correct. Complete steps on how to this can be found in our manual (link).
Important things to consider:
To keep your roof drainage system in good condition, it is important that a few times a year you clear fallen branches and leaves from the gutters. Ideally fit some kind of leaf cover in the gutter that prevents the downpipes from becoming blocked. You can wash all the parts with ordinary detergent and water.
Download manual
We want to help you as much as we can with the installation of your roof drainage system. You are always welcome to visit one of our stores for advice. We also have a full manual and installation guide for our roof drainage system.
Good luck, and don't forget to take a "fika" paus between the work!