Assembling Your Snow Thrower
The snow throwers that you can buy from Biltema always come unassembled in their packaging. However, you can select to have your snow thrower assembled and ready for pick up by Biltema Service.

Assembled and ready with Biltema Service
Do you want help assemble your snow thrower? Through Biltema Service, you get your snow thrower assembled and ready at the time of purchase. The option is made either during the purchase process on the website or at the checkout in our local stores.
How to assemble your snow thrower at home
Snow throwers are heavy machines, so you should always have someone to help with the assembly. You should also have plenty of space when unpacking and assembling the snow thrower to avoid unnecessary frustration when you can’t find things or have too little space.
Unpacking
Start by unpacking all the loose parts from the box, and then cut down all four corners of the box and fold the sides onto the ground. Next, remove all packing material and remove your snow thrower from the box. Check your snow thrower and make sure that all parts are included and that they are intact.
Parts included:
- Machine body
- Battery
- Instructions
Assembly
Depending on which snow thrower you have purchased, it will require some assembly. Some of our snow throwers come pre-assembled with only the battery needing to be inserted, while other snow throwers need to be assembled from scratch. Therefore, you should always use the manual accompanying with your specific snow thrower.
No matter the snow thrower you have bought, there are some tools that can be useful to have in your home toolbox when assembling your snow thrower.
Good tools to have for assembly:
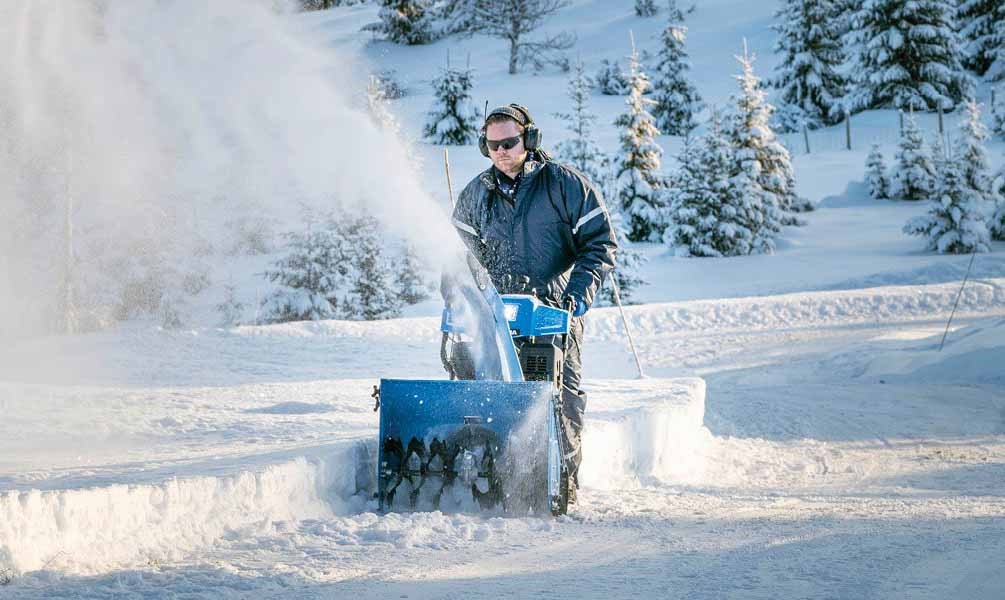
Before using your snow thrower
Before operating your snow thrower for the first time, it is important that you check your machine and ensure that all nuts and bolts are tightened properly. It is a good idea to use screw locking for screws and nuts that do not require adjustment.
Also double-check that all filters are in place, that there is oil in the machine, and the tank is topped up with the correct fuel (applies to petrol-powered snow throwers). If you have purchased a wheeled snow thrower, you should check the air pressure in them before you start. If your snow thrower is tracked, you should check that these are correctly tensioned before you start clearing snow.
Is your snow thrower smoking?
When you use your new snow thrower for the first time, there may be a little smoke, which is completely normal and nothing to worry about. This is the storage grease burning away.